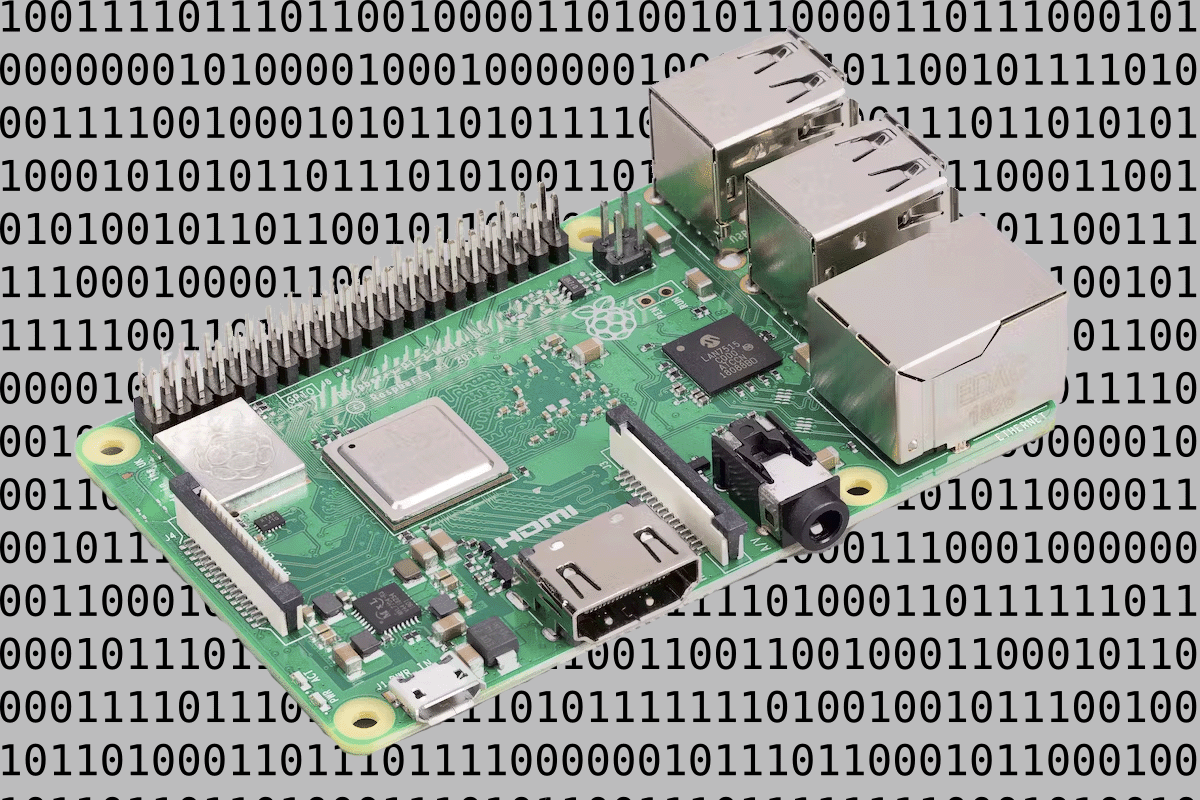
Create an Image for rpi
- use disk management to remove any partitions on the target sd card
- Format SD Card
- File Systeme Type: FAT32
- Allocation unit size: default allocation size
- Quick Format: ✓
- Download and install Raspberry Pi Imager
- Click on gear for advanced options and configure the following:
- Set host name
- enable ssh
- Use password authentication
- set username and password
- configure wireless lan
- SSID:
- Password
- Wireless LAN country
- Enable Set local settings
- Timeszone: New York
- Keyboard Layout: US
- Imager advanced settings screenshot
- Allow imager to create and verify image
- insert SD card into rpi and power on
rPi Initial Configuration
-
Open an ssh connection to rpi using the credentials you configured with Imager
ssh pi@raspberrypi.local -
Update the default settings usinig the raspi-congir utility
sudo raspi-config- Expand file system (In Advanced options)
- Interface Options
- Enable IC2
- Enable SPI
- Enable Gpio remote Access
- Reboot the device
Update Software
-
Update the package library to the latest and install any patches
sudo apt-get update && sudo apt-get upgrade -y -
Install Py dev tools to work with gpio pins
sudo apt-get install python3-pip python3-pigpio python3-setuptools python3-dev python3-rpi.gpio python3-pil i2c-tools -y
Optional Software
These are optional modules that can be configured on device as needed.
Control OLED screen
sudo /usr/bin/pip3 install smbus
sudo pip3 install adafruit-circuitpython-ssd1306
Meshtastic Setup
pip3 install meshtastic
Sense Hat Setup
sudo apt-get install sense-hat -y

